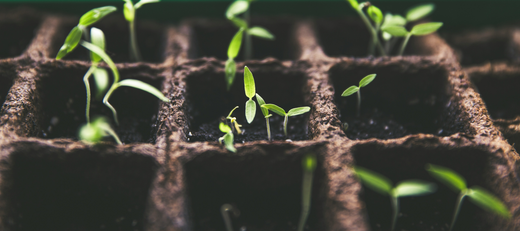
Starting your own seeds is an exciting and rewarding step in gardening. Whether you’re planning a vegetable garden, growing flowers, or both, seed starting allows you to choose from a wider variety of plants, save money, and get a head start on the growing season. Here’s a step-by-step guide to help beginners successfully start seeds.
1. Choose the Right Seeds
Before you begin, think about what you want to grow. Consider your local climate, the season, and your available gardening space. For beginners, easy-to-grow seeds like tomatoes, peppers, lettuce, basil, marigolds, and zinnias are excellent choices. Check the seed packet for important information such as planting dates, germination time, and specific care instructions.
2. Gather Your Supplies
Having the right tools makes seed starting much easier. Here’s what you’ll need:
-
Seeds: Choose high-quality seeds from a trusted source.
-
Seed Starting Mix: Use a lightweight, well-draining mix designed specifically for seed starting. Avoid using regular garden soil, which can be too heavy and may contain pests or diseases.
-
Containers: You can use seed trays, peat pots, or even repurposed containers like egg cartons. Make sure they have drainage holes.
-
Watering Can or Spray Bottle: A gentle watering method is crucial to avoid disturbing the seeds.
-
Grow Lights or Sunny Window: Most seeds need 12-16 hours of light daily to grow strong and healthy.
-
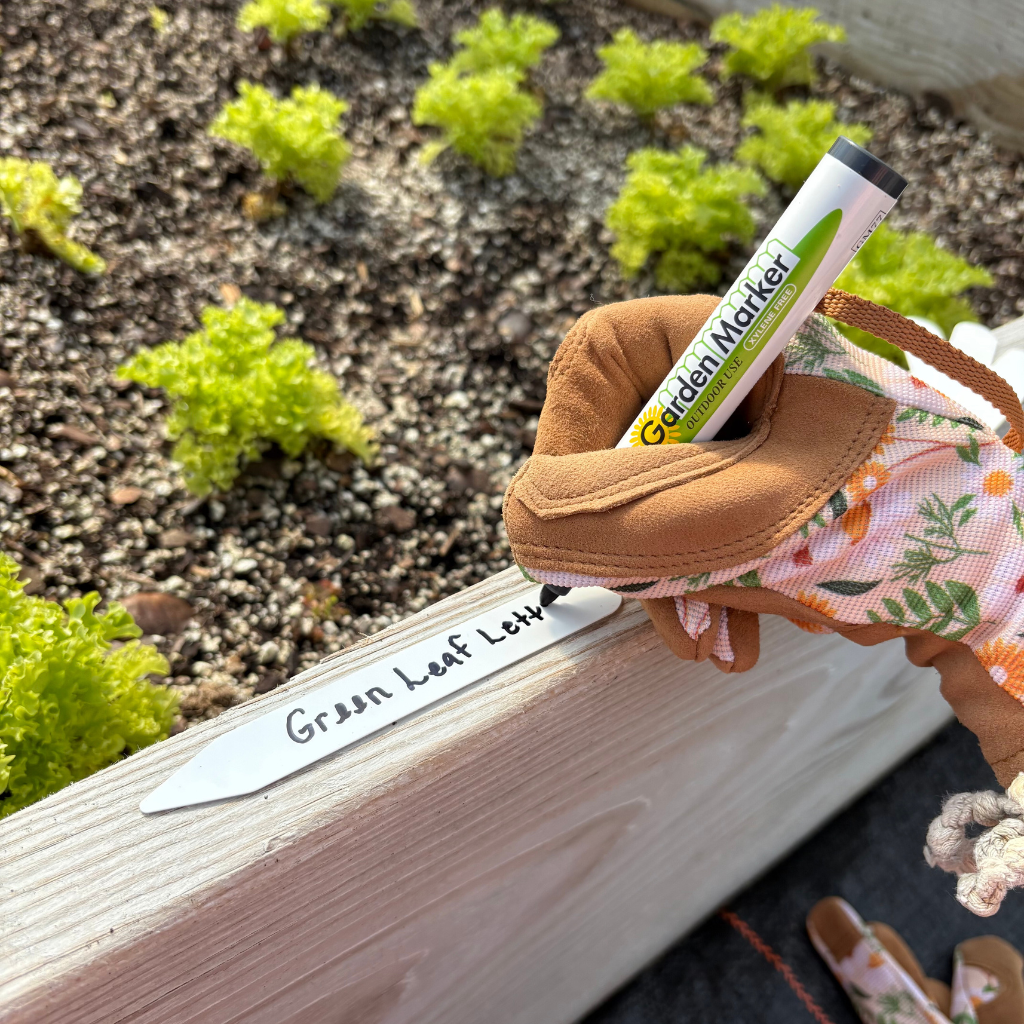
Labels: Use plant markers or labels to keep track of what you’ve planted.
3. Plant Your Seeds
-
Fill Containers with Soil: Moisten the seed starting mix before filling your containers. It should be damp but not soaking wet.
-
Plant Seeds at the Right Depth: Follow the seed packet instructions for how deep to plant each seed. A general rule is to plant seeds about twice as deep as their diameter.
-
Cover and Water: Lightly cover the seeds with soil and water gently.
4. Provide the Right Conditions
-
Temperature: Most seeds germinate best in temperatures between 65-75°F. Consider using a seedling heat mat if your home is on the cooler side.
-
Moisture: Keep the soil consistently moist but not soggy. Covering the trays with a humidity dome or plastic wrap can help retain moisture until the seeds germinate.
-
Light: Once seedlings emerge, provide plenty of light. If using grow lights, position them a few inches above the seedlings and adjust as they grow.
5. Transplanting Seedlings
When your seedlings develop their first true leaves, it’s time to transplant them into larger containers or prepare them for the garden. Harden them off by gradually exposing them to outdoor conditions for a week or two before planting them outside.
Common Mistakes to Avoid
-
Overwatering: Too much water can lead to damping off, a fungal disease that kills seedlings.
-
Planting Too Early: Check your local frost dates and start seeds at the appropriate time.
-
Not Enough Light: Leggy seedlings are often a result of insufficient light.
Why Start Seeds Indoors?
Starting seeds indoors gives you control over your garden’s timing and plant selection. You’ll also have the satisfaction of nurturing plants from the very beginning. Plus, it’s a fun and educational project for the whole family!
With a little patience and care, anyone can start seeds and enjoy the benefits of a thriving garden. Ready to get started? Check out our selection of seed starting supplies and more here!
Happy Growing!


