Making Temporary Raised Beds
Once soil tillage, and amendments have been completed, and further additions to the greenhouse been made, layout and design are an important feature to the finished growing space. Greenhouse layout and design allows the user to appropriate tools, paths, and raised beds to suit their growing style. There is no right way, and there are a few wrong ways to do things, but basic creativity, and for-thought are keys to easy greenhouse management for years to come.

Making permanent raised beds make soil improvements difficult without high capacity production and crop rotation. The mold, to fit and form the beds for temporary raised beds, however, can allow the gardener options for the future while also gaining a productive garden for the upcoming season.
Simply make a over-sized framers square that contractors make. Take two long pieces of framing wood (2x4, 2x6, etc) and screw together two ends. They can be any length but 4 feet by 2 or 3 feet is the best option for a one-person operation. Next, take a small piece of wood, lay it diagonally across the 90-degree frame, and connect together with more screws for stability. You will find this piece very useful when standing on to compact the soil with your feet, or rake and shovel across to fill in gaps for a good soil mold.
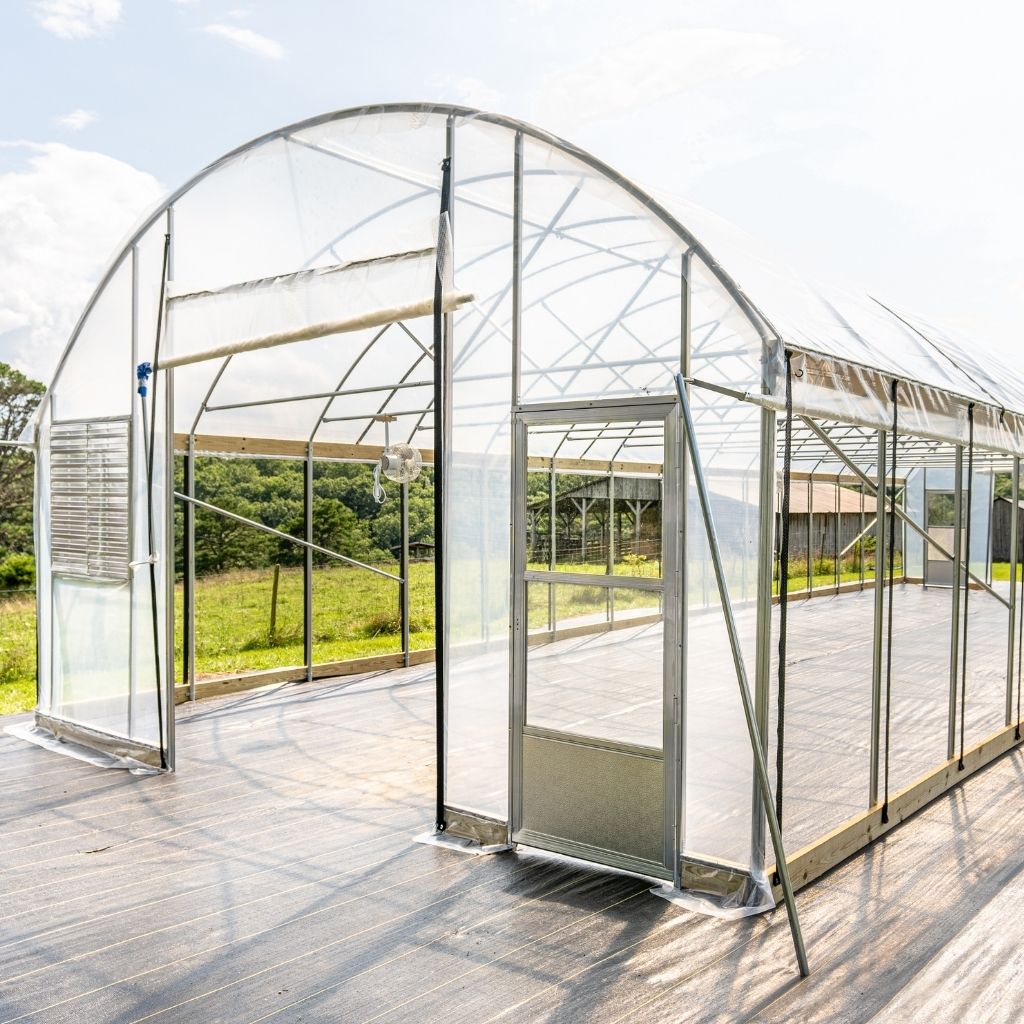
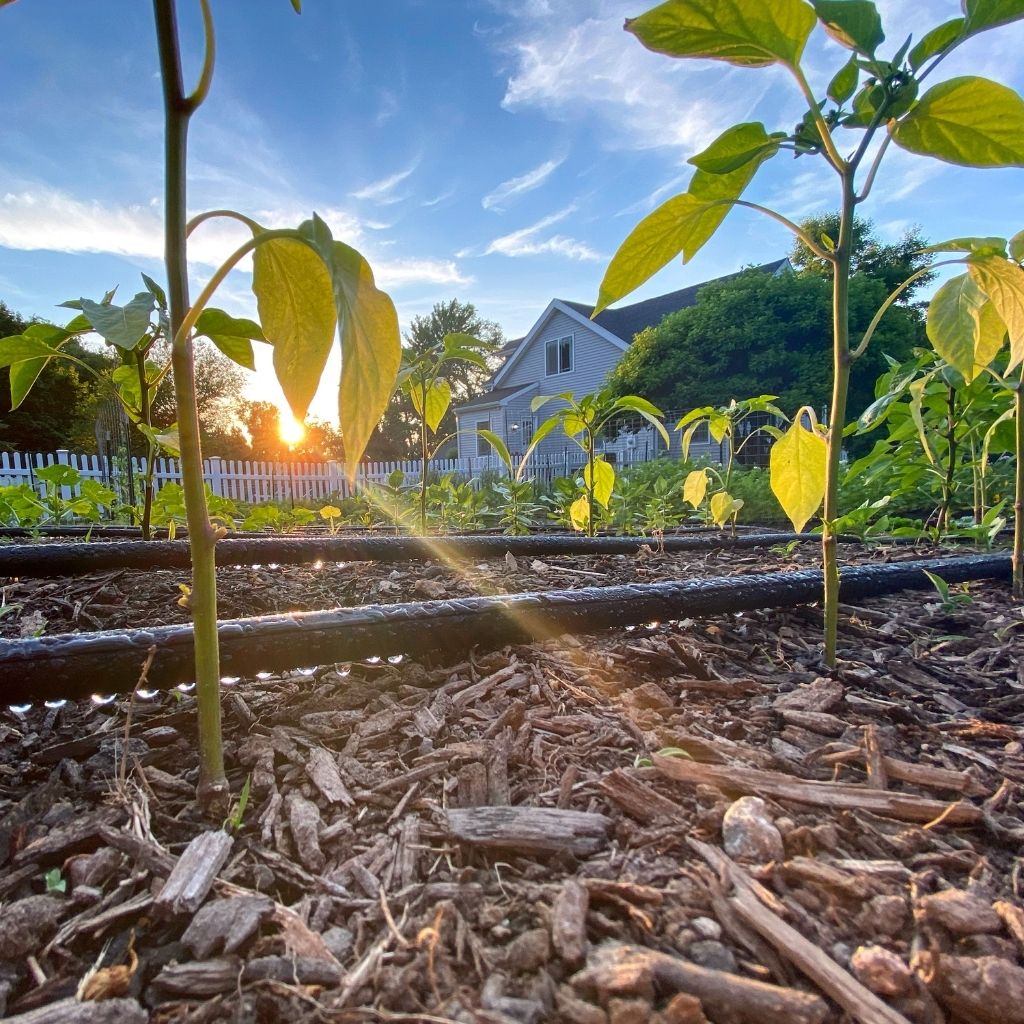
On paper, draw up your greenhouse and where you want certain plants, and pathways to go. Dig out a pathway and scrape up the dirt in piles on the edge of each formed bed. For instance, we decided the middle of this particular greenhouse should have one large central path, and smaller paths branching off half way through to wrap around the new garden beds. These raised beds, now level out the top surface with a rake, and the soil underneath now is much deeper than before, and fully concentrated with the soil amendments that were added during greenhouse restoration.


