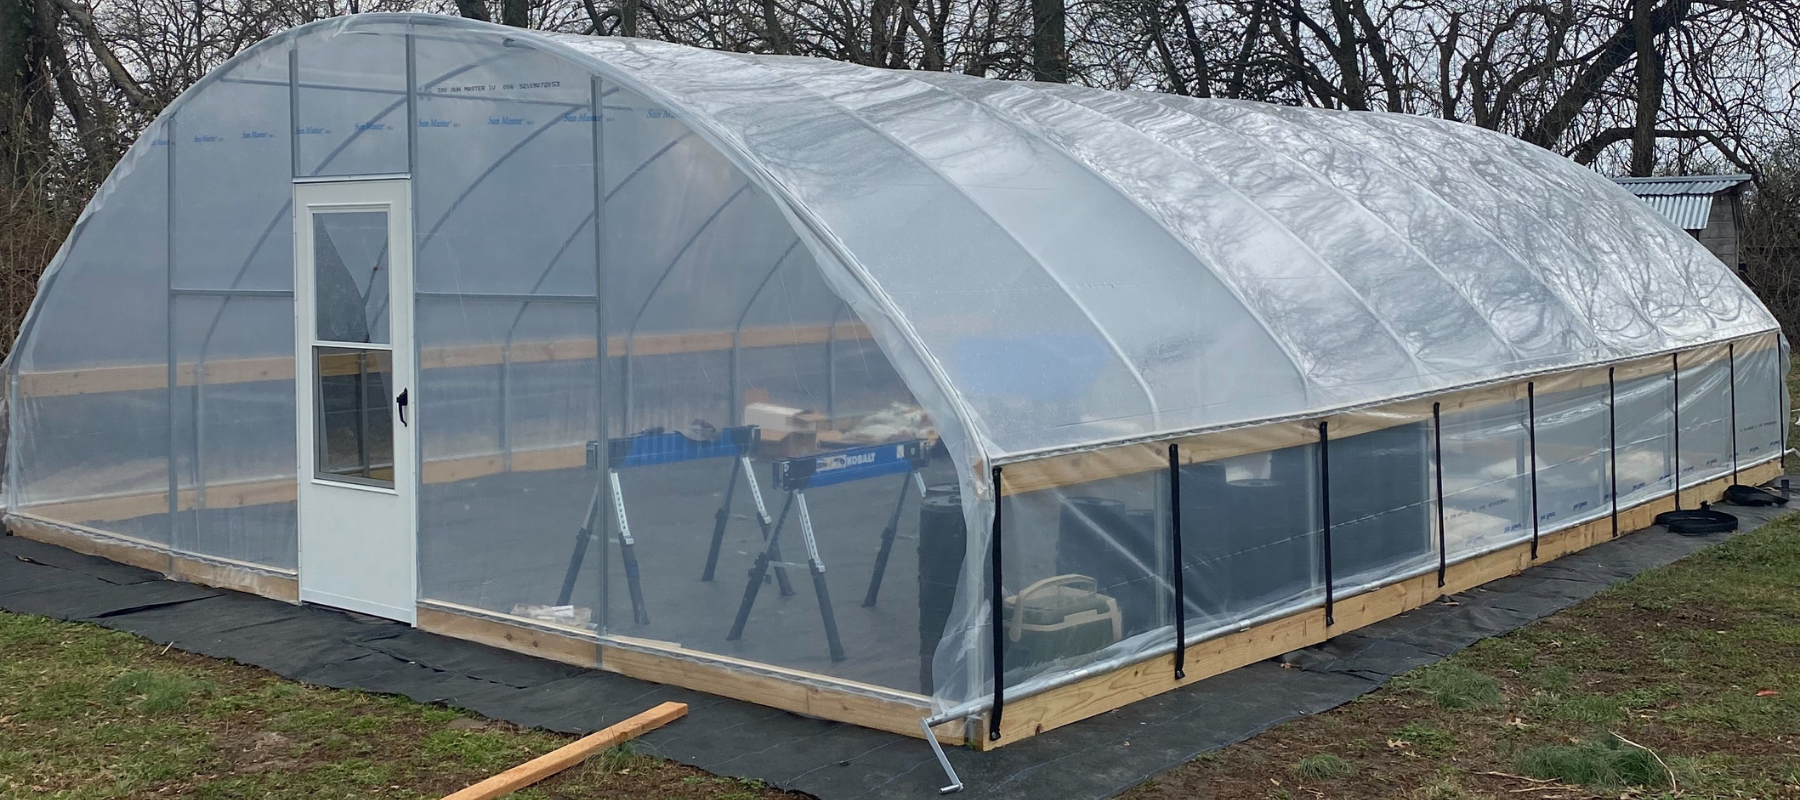


Quonset Greenhouse

Low Sidewall Greenhouse

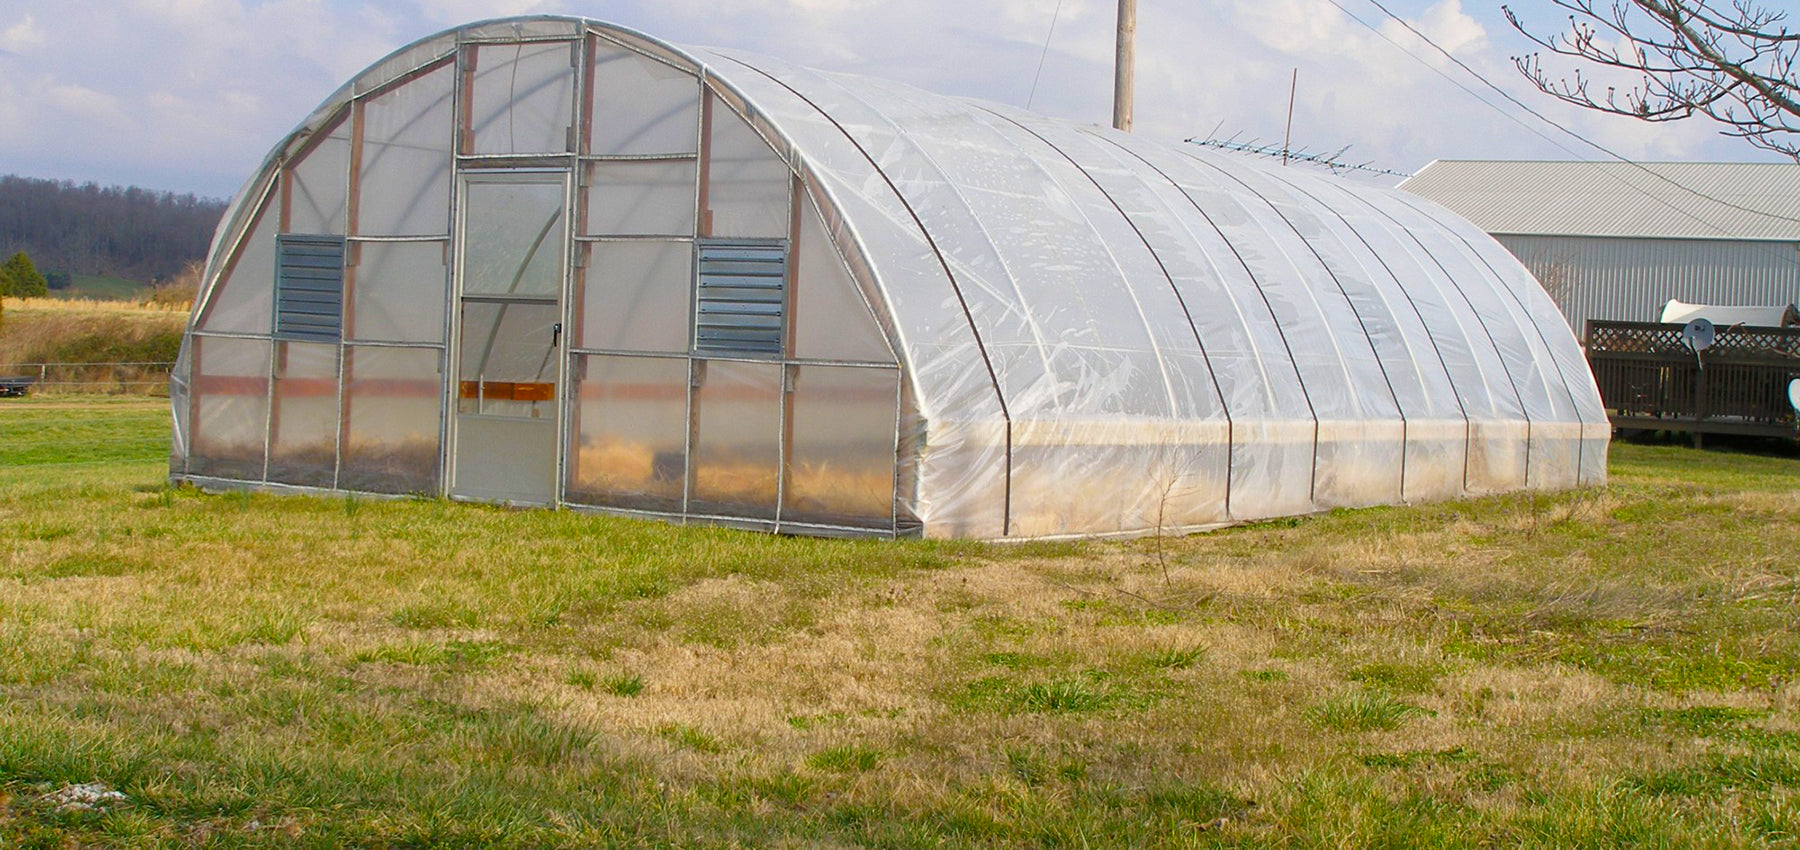
High Sidewall Greenhouse


Figure 1.1 - Taking Measurements on outer edge

Figure 1.2 - Use string around all 4 corners

Figure 2.1 - Lay bows flat and slide together

Figure 2.2 - Secure joints with 2 Tek-Screws

Figure 4.3 - Connect purlin using 2-hole strap, on the first and last bow

Figure 4.4 - Use purlin clamps on remaining bows

Figure 5.1 - Attach base board with 2-hole straps down sides. Attach base board with L brackets on endwalls.

Figure 5.2 – Attach hip/head board with 2-hole straps down sides. Place a Tek- screw through 2-hole strap to secure to ground stake.

Figure 7.1 - Attach wire base on hip/head board if you have rollup sides. Attach wire base to base board if you do not have rollup sides.

Figure 7.2 - Place a wire base between hip board and base board

Figure 7.3 - Attach wire base to face of hip/head board

Figure 8.1 - Lay film over wire lock channel and fasten with wire lock
End Wall Instruction Pictures


Figure 2.1 – For 36” Door Opening. Find Center of greenhouse then measure 18.5” to the left and right
16 ft Low Sidewall End Walls

20 ft Low Sidewall End Walls

24 ft Low Sidewall End Walls

30 & 32 ft Low Sidewall End Walls


Figure 3.1 - Drive 1” ground stakes into position based on layout.

Figure 5.1 - Measure distance between ground stakes and peak of bow

Figure 6.1 - Insert square upright over ground stake. Secure with Tek-screws on inside side of upright.

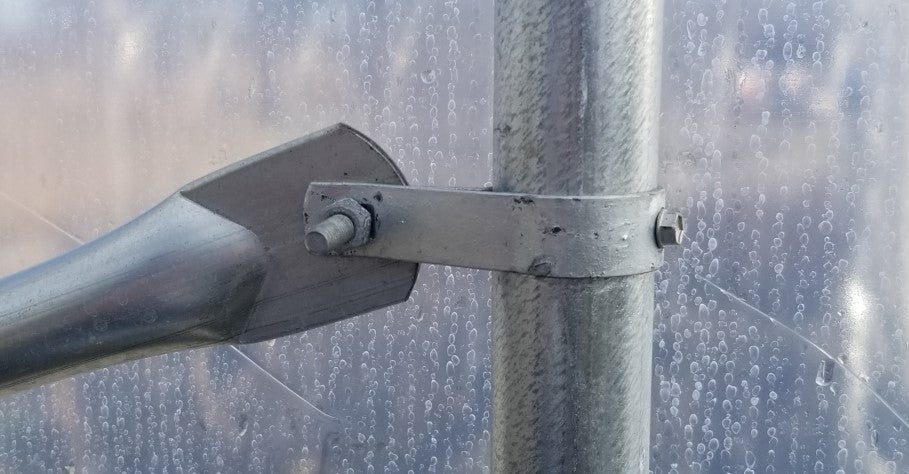
Figure 7.1 - Attach brace bands over the bow and into the square upright

Figure 8.1 - Insert bolt through brace band and secure on inside of greenhouse

Figure 9.1 - Place self-tapping TEK screw through brace band to secure.

Figure 10.1 - Install header supports at chest height.

Figure 11.1 - Use TEK screws to install header with L brackets.

Figure 13.1 - Use Door frame to seal the end film around the opening.
Roll Up Side Instruction Pictures


Figure 1.1 - Hip Board and Base Board

Figure 2.1 - Mount 2-hole straps

Figure 3.1 - Attach film to wire-lock base

Figure 4.1 - Slide and secure pipes with 2 Tek-screws

Figure 5.1 – Roll poly around pipe and secure with Snap Clamps

Figure 6.1 - Fender washer to reinforce strapping

Figure 6.2 - Fold ends of strapping twice.

Figure 6.4 - Mount on hip board and base board

Figure 6.3 - Pull Strapping tight

Figure 6.5 - Pipe sticks out about 1 foot on each end.

Figure 7.1 - Place handle on pipe and secure with 2 Tek-screws.

Figure 8.1 - Use strapping to secure handle to the greenhouse.
Roll Up Door Instruction Pictures


Figure 2.1 - Attach roll-up door film

Figure 3.1 - Roll film up on pipe to the inside

Figure 4.1 - Place one clip at each end and in the center

Figure 5.1 - Assemble the swivel handle

Figure 5.2 - Attach the knuckle to the door pipe.

Figure 5.5 - Attach extension pipe to knuckle.

Figure 5.3 - Slip boot onto pipe. Attach Handle to extension pipe.

Figure 5.4 - Slip boot over the knuckle and place zip ties to hold it in place.

Figure 6.1 – Attach Wind Strapping to the upright on top. Fold over end to reinforce and place Tek-screws.

Figure 6.2 - Fold over end to reinforce, pull tight and place Tek-screws.

Figure 7.1 - Trim existing Greenhouse Film.

Figure 8.1 - Use wire-lock to seal door along the sides when needed.
Spin Handle Instruction Pictures


Figure 1.1 - Slip small sleeve over the bolt

Figure 2.1 - Slip large sleeve over small sleeve

Figure 3.1 - Insert through hole, attach nut and tighten
Wind Bracing Instruction Pictures

Wind Strapping Instruction Pictures


Figure 1.1 - Tie strapping onto a bottle

Figure 2.1 - Place strapping between hoops evenly for the size greenhouse you have. IT IS NOT REQUIRED BETWEEN EVERY BOW! If you wish to do this you will need to purchase additional strapping.

Figure 3.1 - Fold over strapping twice for strength

Figure 3.2 - Use washer and wood screws to attach
If you have questions please check out Grower’s Learning FAQ section.
If you still need help please give us a call at 866.928.3390.