Basics to Building a Greenhouse


The foundation of your structure should be one of the first things considered before construction. The three main types to choose from are treated wood-based foundations, beam and post foundations, and concrete based foundations. The treated wood-based foundations are the most basic and least costly between the three. Basically, it is a wood floor with posts going around the square of the greenhouse. It must be treated to prevent wood rot and other damages that may occur and is a non-permanent foundation based on a small scale.

The second least costly and easiest foundation to build is the beam and post foundation, which is the only foundation that does not have the floor directly on the ground. The way this foundation is set up is by using concrete or wood posts around the perimeter and down the center to assist in supporting the weight of the greenhouse itself. On top of the posts, beams are attached to form the floor. Once that is finished, the greenhouse is anchored to the edges to keep it in place and prevent it from moving. The third, and most expensive foundation, is a cement foundation that is meant to be a permanent foundation for larger scale greenhouses. It is just a slab of cement. Even though it is more expensive, it is ideal because it keeps weeds and other non-desirable plants from growing in the foundation and into the greenhouse. If you plan on keeping your greenhouse for a long period of time and use it
extensively, I would recommend the cement foundation because it requires less labor in the long run, by eliminating weed picking, making cleaning easier, and overall being more worry-free.

Once you have what type of foundation you want to use picked out, another important and obvious step is deciding what size greenhouse you want and the added accessories you desire. As far as size, greenhouses can range in various sizes from smaller ones, such as eight footers, to larger ones, like 28 footers.
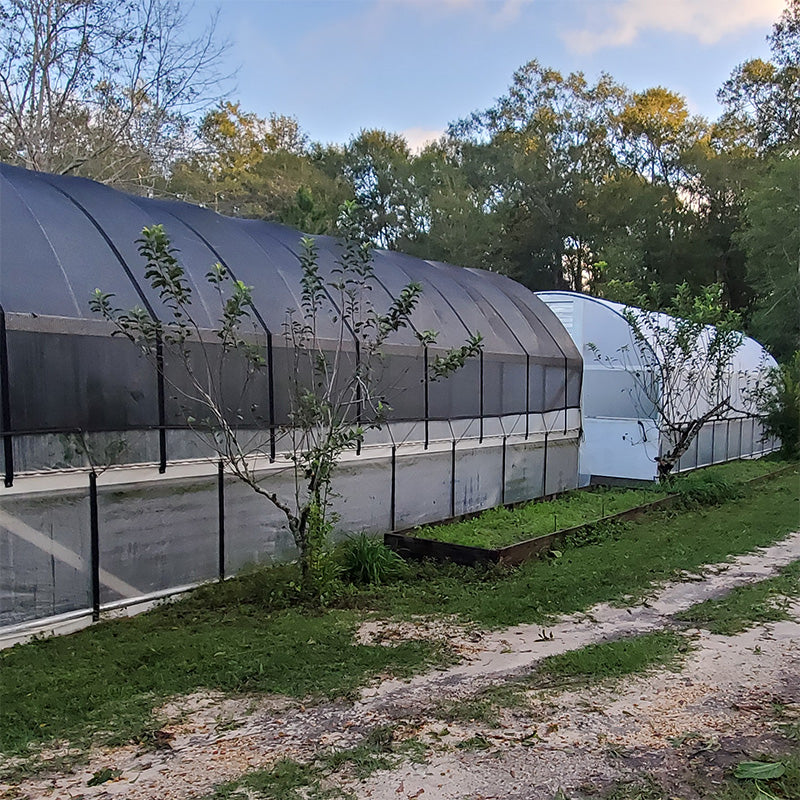
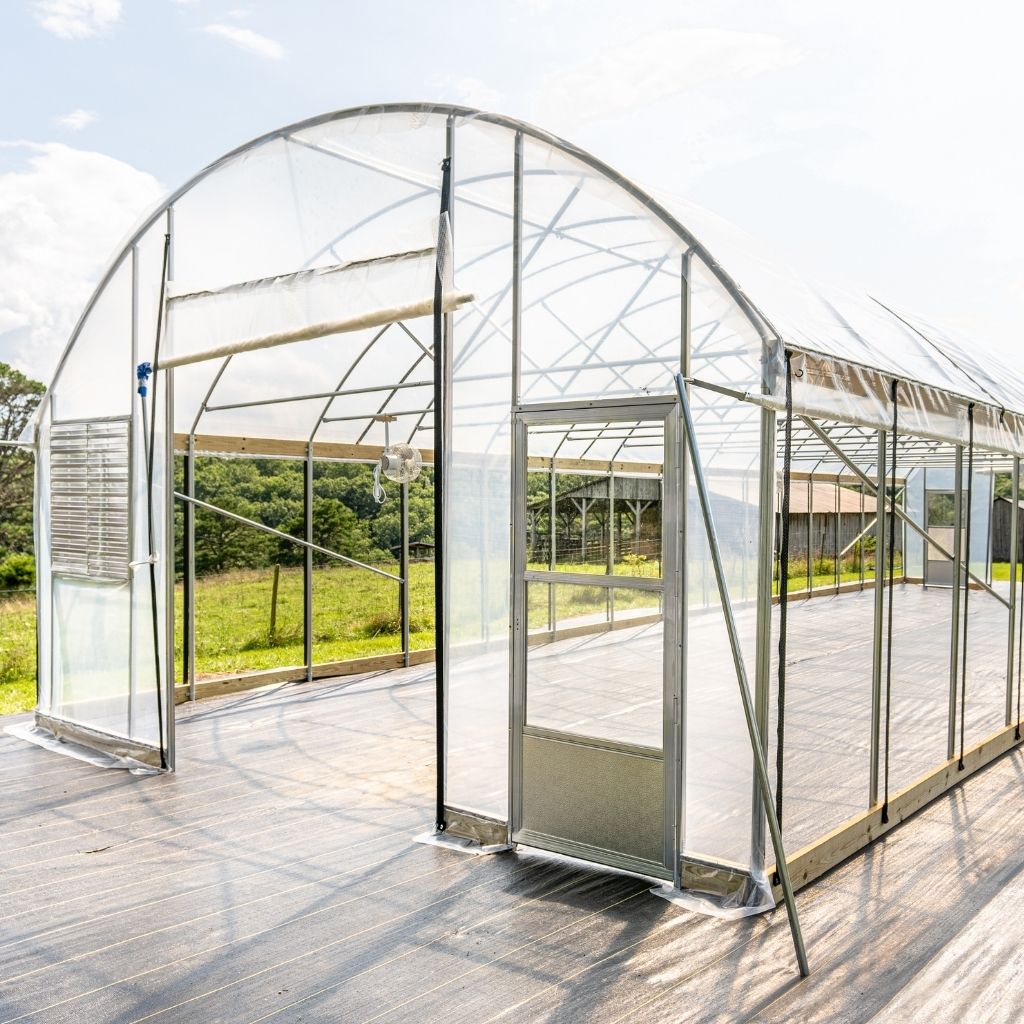
Once you decide on a size, you can decide on what type of frame kit you want to purchase such as galvanized steel, plastic or PVC, wood, or aluminum. The galvanized steel is strong and long lasting, but it is more expensive and can be difficult to find. The plastic or PVC frames are good beginning greenhouses because they are inexpensive and are movable but at the same time, since they are easily movable you must make sure your weather conditions are fit for a frame like this so it does not blow away. The wood frames are good because they are natural insulators, but seeing that they are wood, they can be prone to rot. The aluminum frames are easy to build and do not rust. Preferably, I would choose the aluminum kits because they are easy to find and build and less expensive than some of the others mentioned. Next, you will need to decide whether you prefer polyethylene sidewalls or glass walls. Both have advantages and disadvantages. For the polyethylene sides, the advantages are the fact that they are less expensive and with the two layers used, they produce more heat, and the disadvantages include the reduced amount of light because of the two layers and they possess increased humidity, compared to glass sides. The advantages of glass sides include all the light they let in and how long they last. The biggest disadvantage of using glass sides is the high cost. Overall, it just depends on personal preference and financial situation. Once you decide on the sides, you can then see what accessories are required and/or needed. For example, if you choose the polyethylene sides, an inflation blower is ideal to put on between the two layers because it better insulates the greenhouse itself. Then the question of how many doors you want arises and whether or not you want roll up sides, which require a spin handle. The accessories are endless, and again, it is mainly based on what you like and can afford.
 |
 |
 |
After your greenhouse is finally set up and established, you can then proceed to decide what exactly you want to put in it, as far as plants, hydroponics, sinks, etc. Ultimately that is based on the size of your greenhouse and what you want to produce. Benches,

hanging baskets, tables, or a combo may be the best option, or you may want to stick just to hydroponics. Supply and demand will play an important role in what you decide to produce and what is profitable and salable.
Whether your greenhouse is your livelihood or just a hobby, it can be successful no matter the scale of the business. As long as you gather research and decide on what is suitable for your facilities and your financial situation, it can be a great success and Growers Solution can help you every step of the way.


