

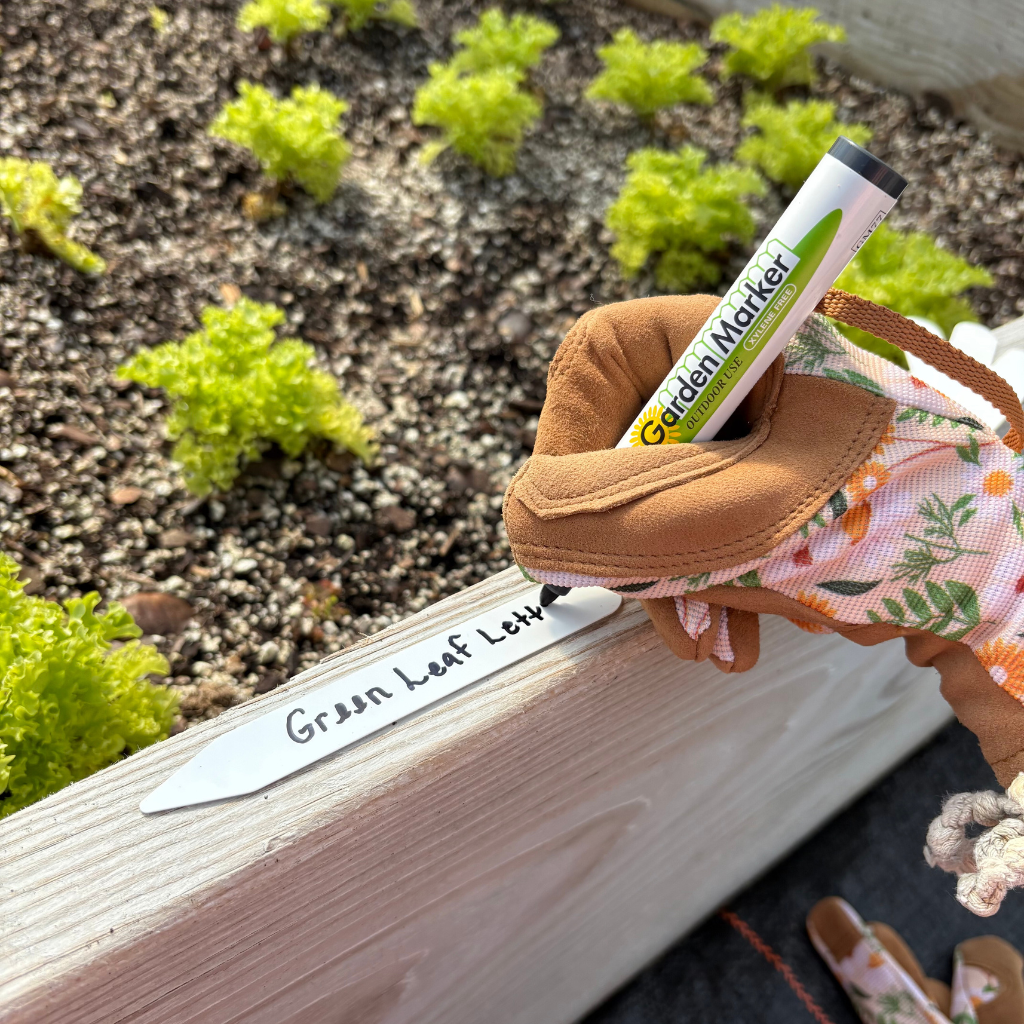


Oasis Rootcubes

Rootcubes can be very beneficial to a gardener by making the labor less extensive and providing more desirable plants. Rootcubes can be used for seeds as well as for stem cuttings and the directions to both are easy to follow, making it extremely difficult to mess up. They are ideal for starting seeds that will eventually be transplanted into a soil-less or soil medium. They are equipped with a neutral pH throughout and a two-week supply of starter fertilizer. Here at Growers Solution, we offer a top brand, Oasis Rootcubes, which are positively reviewed plant starters that should not be overlooked by the grower. If you want faster growing plants, with less work to be done while planting, then I recommend trying Oasis Rootcubes on your next planting project.
Oasis Rootcubes are squares of soil with pre-made holes for the seeds, which are placed directly into a flat. Before you even begin planting, make sure that the cubes are completely drenched with water. They can hold up to 40 times their weight, so be sure they are completely soaked. When using a typical 1020 tray, be sure to fill the tray with 1 gallon of tap water. Then place the saturated cubes in the tray and tilt the it to make sure the cubes are completely wet and secure, while letting the unused water drain away and be sure that no more than 1/8 inch of water is in the bottom of the tray. Next, place the seed(s) in the pre-made hole. All that is left after that is keeping the plants moist and waiting for germination to take place. Begin to add more water when the weight is half of when it was first full. When adding the water, add it at the edge of the tray for equal amount of water distribution and weight disperse. Once you add water, you can also begin adding fertilizer. Typically, it will be about two weeks after seed germination, and you will want to use a mild fertilizer. When using cubes in less than a full sheet, keep the cubes together in a single block until they are ready to be transplanted because it helps them retain water. Besides that, the rest is the same steps as described above.
As I stated before, you can also use Oasis Rootcubes with stem cuttings with an easy process. Saturate the cubes and retrieve a stem cutting about 3-5 inches from the growing tip. Then, dip the cutting in the rooting hormone and place in the pre-punched hole in the cube. When you place the cutting in the hole, it is very, very, very important that you place it in at the right depth into the hole and soil. They should be stuck in at least 1/3 of the cube depth and no more than 3/4. If the diameter of the cutting is smaller than the pre-punched hole, then simply stick the cutting in the cube directly beside the hole. Within 5-10 days, a callous will form and then total propagation will begin within 14-21 days. When growing these plants, be sure that the heat under the flats is maintained at 75-80 degrees Fahrenheit, and after the roots appear, you can begin fertilizing and then soon transplant.

When transplanting from Oasis Rootcubes, make sure the cubes are completely soaked beforehand. Then, separate each plant, keeping the cube intact, and be sure to not break the cube away from the root. Next, cover each cube with about ¼ inch of soil. Then just water the plants regularly.
The Oasis Rootcubes are fairly easy to use and can help maximize plant growth. Top quality plants will be produced and whether you sell these to customers or keep the plants to yourself, you will be very satisfied with the results after using Oasis Rootcubes. By taking away labor and adding value to your plants, what is there to lose from trying Oasis Rootcubes with your next plant project?