Introduction:
Starting seeds indoors is an exciting and cost-effective way to kickstart your garden, whether you're growing vegetables, herbs, or flowers. To ensure success, it's essential to prepare properly and gather the right supplies. In this guide, we'll walk you through the essential products you need, such as 1020 trays, inserts, humidity domes, and heat mats, and provide helpful tips to get your seedlings off to a strong start.
- Selecting the Right Containers: 1020 Trays and Inserts
- 1020 Trays: These standard-sized, durable trays provide a stable base for your seedlings. They come with the option of having drainage holes or no drainage holes. The benefit of having drainage holes is to prevent waterlogged soil if you are planting directly into the 1020 tray.
- Inserts: Inserts are designed to fit within 1020 trays and come in different cell configurations. These cells hold individual seeds or seedlings and make transplanting easier. Choose the cell size that suits the plant you're growing, from small cells for delicate herbs to larger ones for robust vegetables.
- Maintaining Proper Humidity with Domes
- Humidity Domes: These clear, plastic covers create a mini-greenhouse environment, helping to maintain consistent humidity and temperature around your seeds. This controlled environment encourages germination and protects fragile seedlings from harsh conditions. Make sure the domes fit snugly on your 1020 trays.
- Providing Bottom Heat with Heat Mats
- Heat Mats: Bottom heat is crucial for seed germination, as it stimulates root development and accelerates growth. Seedling heat mats are specifically designed for this purpose and come in various sizes to match your trays. Place the heat mat under your trays, ensuring it's on a flat, level surface.
- Choosing the Right Growing Medium
- Seed Starting Mix: Select a high-quality seed starting mix that is well-draining and sterile to prevent disease. Avoid using garden soil, as it may contain pests and diseases that can harm your seedlings. Fill your cell inserts with this mix for optimal results.
- Gathering Additional Supplies
- Seeds: Choose high-quality seeds from reputable suppliers. Pay attention to the planting depth and spacing requirements on the seed packets.
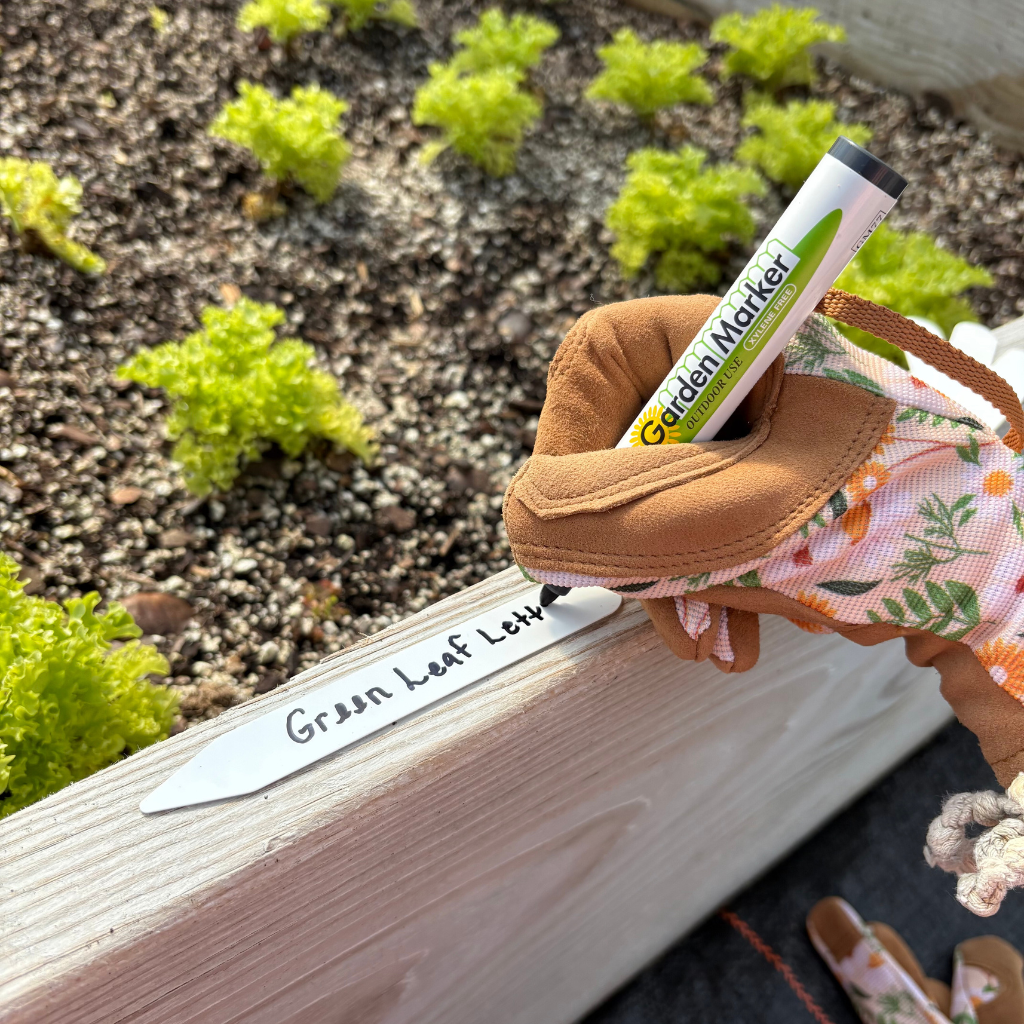
- Labels: Invest in plant labels or popsicle sticks to keep track of the types of seeds you're growing. Labeling is essential, especially if you're planting multiple varieties.
- Watering Can or Spray Bottle: Use a gentle watering can or spray bottle to water your seedlings without disturbing the delicate roots.
- Grow Lights: If you don't have access to natural sunlight, consider using grow lights to provide adequate illumination for your seedlings.
- Preparing Your Workspace
- Cleanliness: Ensure your workspace, containers, and tools are clean and sterile to prevent the spread of diseases that can harm your seedlings.
- Organization: Plan your planting schedule and create a dedicated space for your seed starting activities, allowing for easy access to supplies and a consistent routine.
- Timing and Patience
- Planting Schedule: Consult a seed starting calendar for your region to determine when to sow each type of seed. This will help you align your planting with the appropriate growing season.
- Patience: Remember that seed starting is a process that requires patience. Not all seeds will germinate simultaneously, so be prepared for variations in growth rates among different plants.
Conclusion:
By gathering the essential products like 1020 trays, inserts, humidity domes, and heat mats, and following these tips, you'll be well-prepared to start your seeds successfully. With the right tools and a bit of patience, you'll soon have healthy seedlings ready to transplant into your garden, ensuring a bountiful harvest or a vibrant flower display in the coming season. Happy gardening!


