


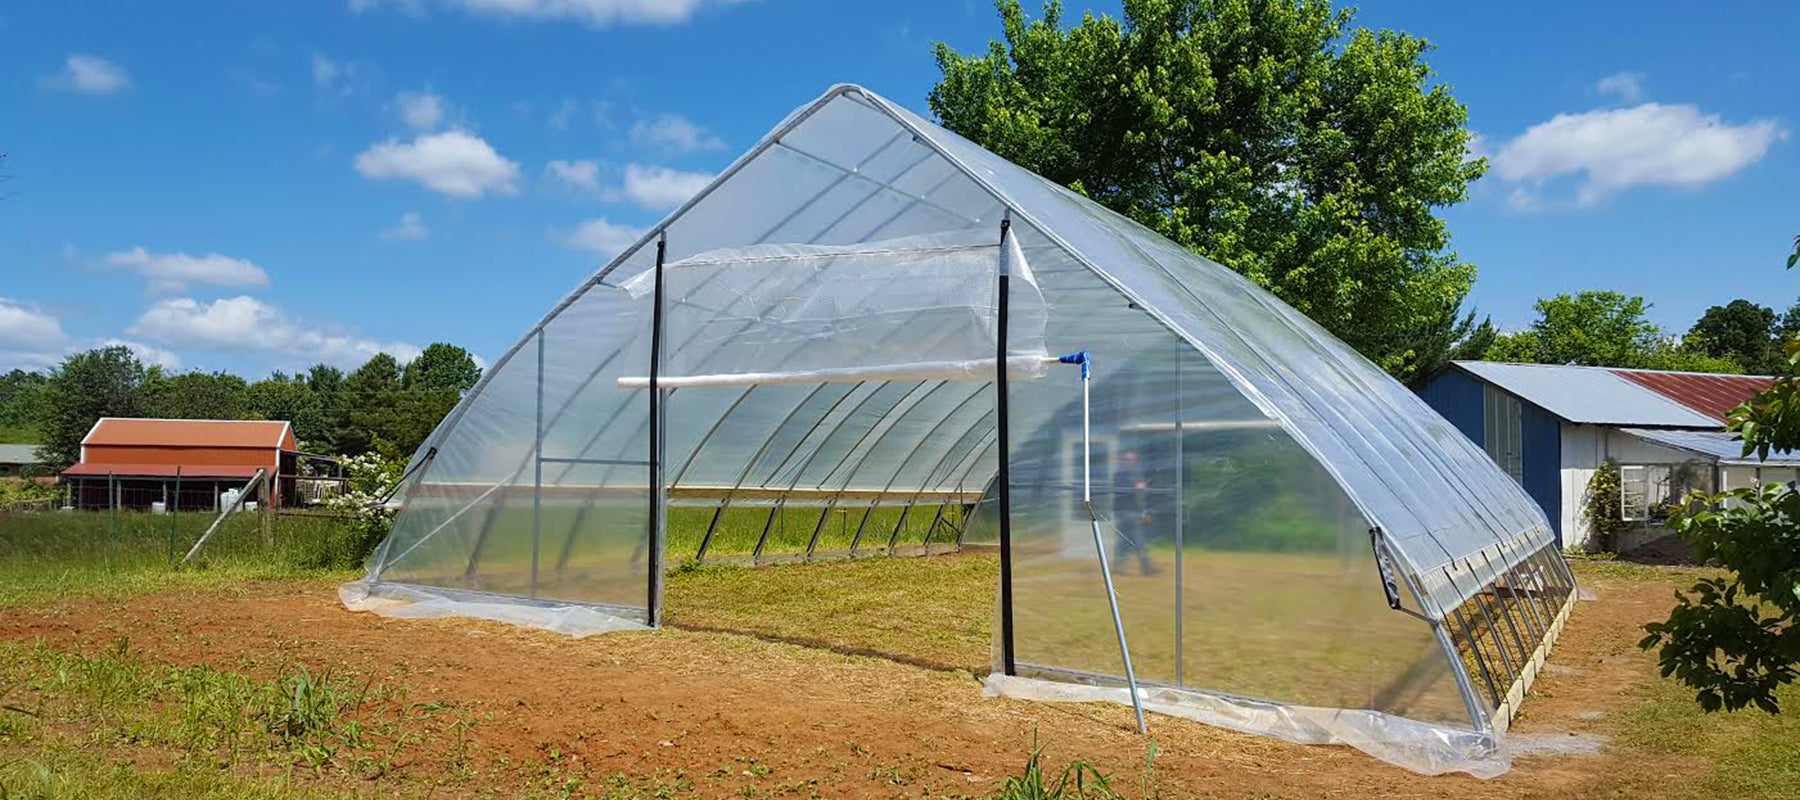
GLACIER END WALL INSTRUCTIONS
Most Greenhouses may require trimming of uprights for proper fit, because of the unknown grade of your land. Any upright over 12 ft. in length is spliced and labeled connect A to A, B to B, etc.
These instructions are for a 36” storm door and rough in for door is 36.5”.
36” Door

- Number of uprights on the size house you purchase includes door frame uprights. This is for 36” door opening. (Table A)
8’ or 10’ Door
- Number of uprights on the size house you purchase includes door frame uprights. This is for 8 or 10 ft. door opening. (Table B)
Step 1

- On front end-wall, measure to find the center of the house (Figure 2.1).
Step 2
- From the center, mark 18.5” to the left and right of that point. This gives you the door frame size (Figure 2.1).

Step 3
- Drive a 1” ground stake in each of these two points (will be approximately 36” apart).This is where your storm door will be (Figure 3.1).

Step 4 - SKIP THIS STEP IF YOU HAVE A 16FT GREENHOUSE
- From that point, if you have another upright measure 48” over and drive another 1”ground stake (Figure 4.1).

Step 5
- Measure the distance between the base of these ground stakes and peak of the bow where they will be connecting (Figure 5.1).

Step 6
- Cut your square uprights (if needed) to meet these measurements, slide square uprights over the ground stakes with pre-drilled side at the top (Figure 6.1).

Step 7
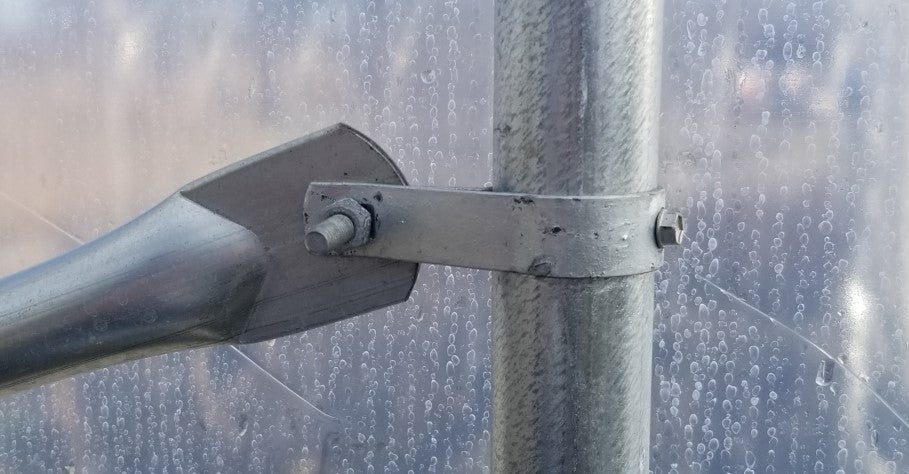
- Attach brace bands over the bow and into the square uprights (Figure 7.1).

Step 8
- Insert bolts through brace bands and square upright (Tighten completely after door is installed). (Figure 8.1)

Step 9
- Place one self-tapping TEK screw through the brace band securing it to the bow on the inside of the house, (Figure 9.1).

Step 10 - SKIP THIS STEP IF YOU HAVE A 16FT GREENHOUSE
- You may install header supports at chest high, approximately 60” (Figure 10.1).

Step 11
- Using TEK screws, install header with corner braces, see (Figure 11.1).
Step 12
- The installation of the rear end-wall is the same. However, header & upright spacing can be adjusted to accommodate a fan or vent if you choose to install one.

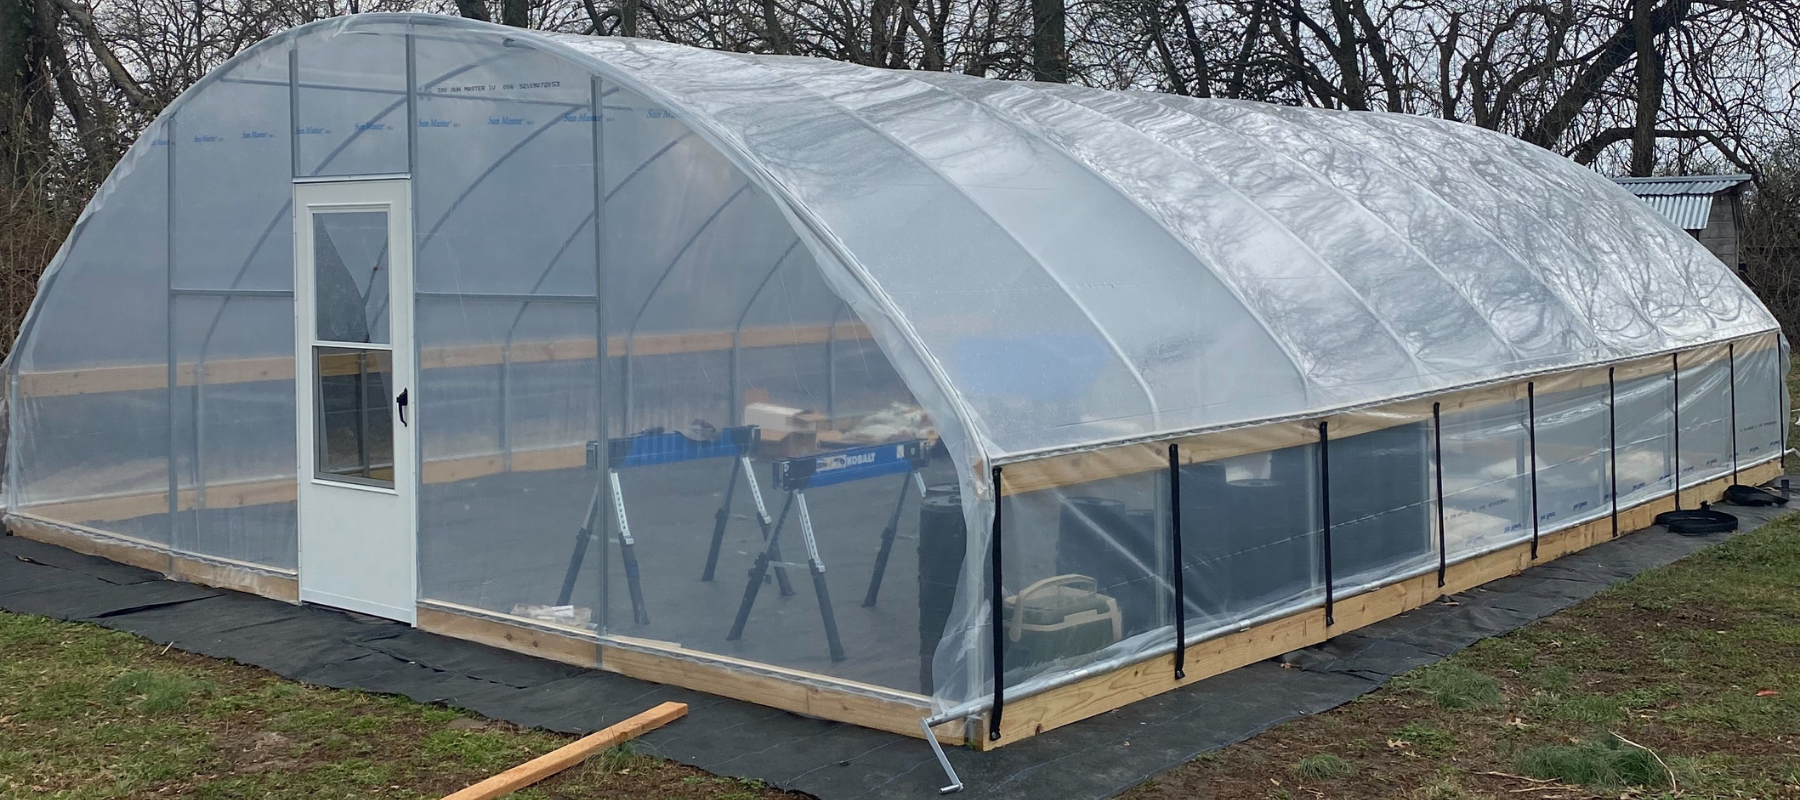
Step 13
- Do not install door header for storm door until door is in place. When using a storm door you will use the frame of the door to seal the end film (Figure 13.1). Cut the film opening, place a 2 x 4 in the opening. Have your helper pull the film towards the inside of the greenhouse. Set the door in the opening. Push into place and shoot a screw or 2 to hold in position. Remove 2 x 4 and check for operation. If door opens freely, finish installing screws. Install door header, trim film around opening.